
F-spot
F-spot
When I saw ‘F-spot’ appear in my Ubuntu Linux menu for the first time I got excited and wanted to try it immediately.
It was a disaster. Ever since the very first thing I would do when installing a new machine with Linux is removing F-spot.
That doesn’t sound very promising and I have to say that at first I didn’t want to write a review about F-spot.
However, I feel that it would be somewhat unfair to NOT write a review about F-spot. You deserve this information. Who knows, you may even start to like it and use it. Ubuntu is offering this application on it’s standard desktop version for some time now so it must good, right?!
*sigh* I’ve been dreading this moment ….. but here we go …..
Install
Since F-spot is widely available on any distribution of Linux so you can simply install it from your repository. In my case (Ubuntu Linux) I did:
# apt-get install f-spot
First time
When first starting F-spot the application will prompt you for a directory. You will have to navigate to you photo directory and hit the import button. You can deselect the options (which are selected by default): detect duplicates, include subfolders and copy photo’s to Photos directory. Yes, F-spot will create a directory called Photos in your homedirectory. Don’t you just love it when applications do stuff like this by itself?
When you imported a directory in F-spot the application will sort them by time-stamp. This means that you images will appear as if they were in random order. It will become an even greater mess the more sub-folders you have. And if you ever decide to alter an image (lighter, darker, more contrast, whatever) the time-stamp will change and your photo will be moved to the other side of the F-spot spectrum. How nice (sarcasm!).
Presets
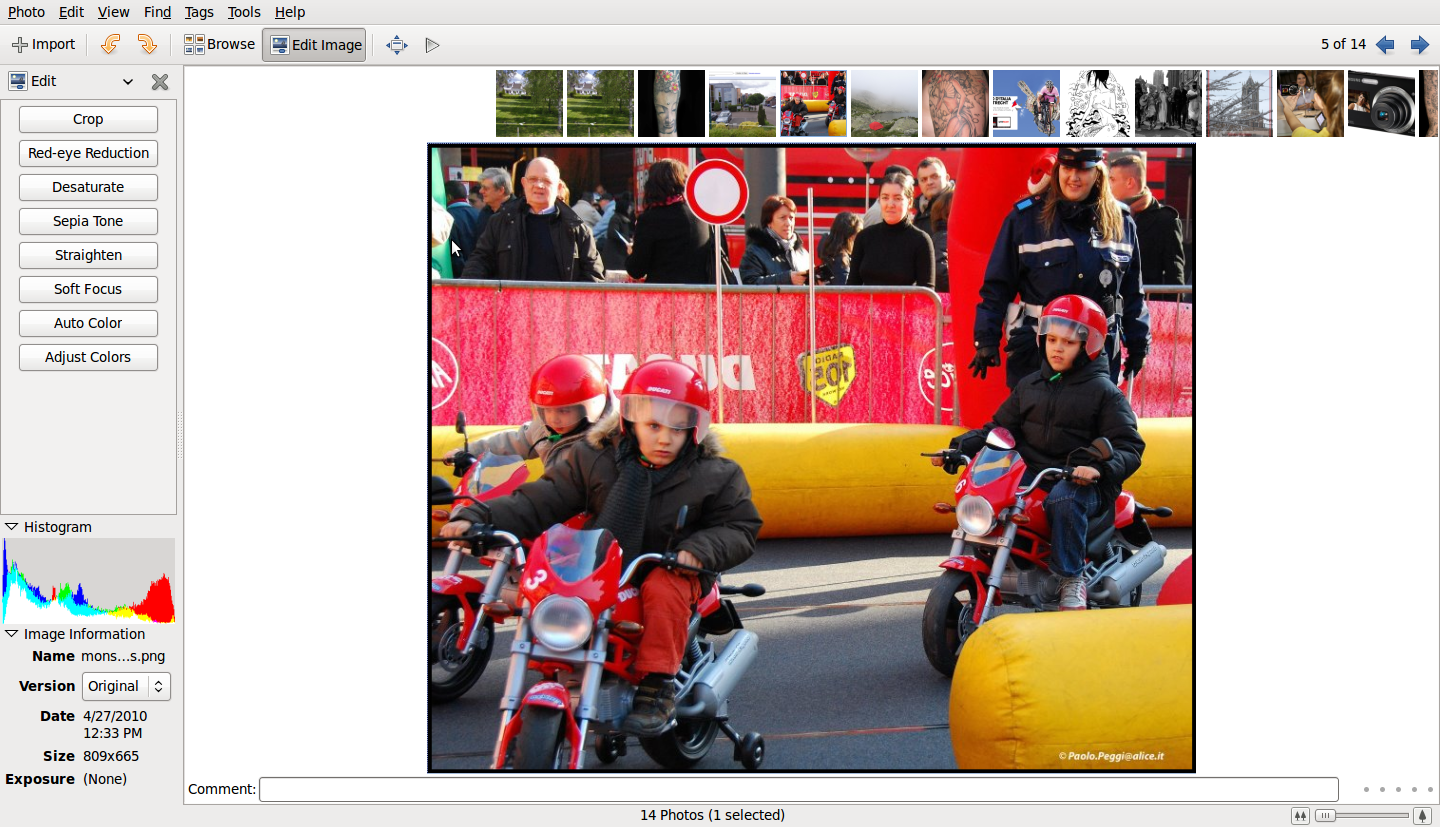
Although F-spot is a photo manager for Linux it also offers a small range of simple preset alterations for your images. The presets are: Crop, red-eye reduction, desaturate, sepia, straighten, soft focus, auto color and adjust color.
Basic information
Apart from viewing the images themself you can also see some basic information about the image you selected. basic information like a histogram, date and size of the image. Ofcourse you zoom in and out and see a slideshow. And just like any other photomanager you can tag your photo’s for easier search.
Nifty
In the Photo menu there’s an Export To option. This is an easy way to export your photo’s quickly to webgalleries, flickr or Picasaweb (or more). However, I haven’t really taken the effort to test this and see how well it works.
In F-spot there is no undo option. Instead you have to use the ‘version’ option in the Photo menu.
In the main window of F-spot you basically have two standard options. Browse and Edit Image.
With the browse button you can browse all your photo’s that you have imported and perhaps select one.
With the Edit Image option you will see your images as thumbnails in a bar on the top of the window and whatever image you selected below that to fit the window.
My conclusion
My first encounter with F-spot was terrible. After that I never wanted anything to do with this application. However, I found the strength to install it again and write a review about. For me this application brings no useful options whatsoever. As a matter of fact it brought me irritation and frustration. Feel free to use it yourself. And if you like it then don’t hesitate to comment on this review. I’m really curious to know in what cases this application can be actually fun and useful.
If you remove F-spot from your pc you will have to remove the ~/Photos directory yourself afterwards.
Screenshot:
 Check out the
  When using the GIMP you have many possibilities. This can sometimes be very time consuming. You can use the build-in scripts to speed up the process. And you can extend the GIMP with the